
How To Make Your Own Nail Polish At Home {Easy!}

Person holding a pink shimmer DIY at home nail polish with pink background
Updated 2024.07.17. This post contains affiliate links. If you make a purchase, Lots of Lacquer and its partners may earn a commission or other compensation, at no extra cost to you. As an Amazon Associate I earn from qualifying purchases.
To begin making your own polish, go through your nail polish collection and select all the potential parent nail polish colors that you would like to see create a new nail polish.
Select 2 nail polishes: 1 nail polish as your base color, or core pigment, and 1 nail polish to serve as an accent finish, like chunky glitter, pearl or shimmer, or a lighter/darker adjustment.
To easily make your own nail polish, you will need:
- 2 bottles of nail polish
- 1 half-empty nail polish bottle or 1 totally empty nail polish bottle
- Swatch sticks
Step 1. Test Out Your Potential Blends
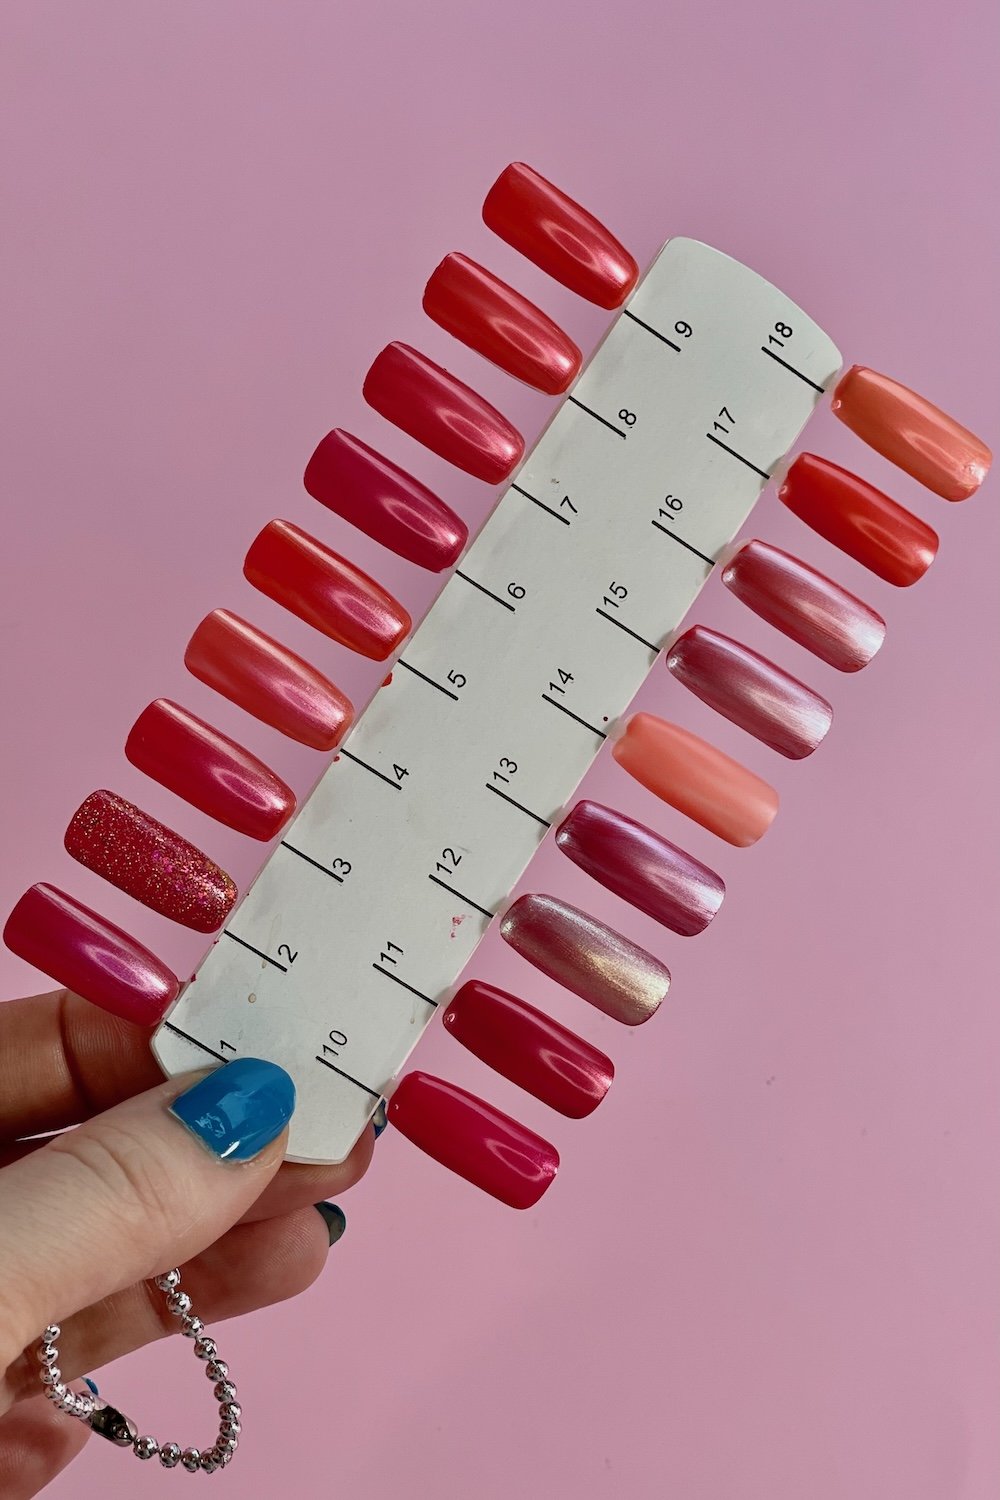
Testing swatches of potential at home DIY nail polish formulas
Write down all your potential parent nail polish combinations on a spreadsheet like this:

DIY Nail Polish mixing spreadsheet
When you have a color that looks like one you like, it’s time to begin mixing.
Step 2. Pour & Mix Your Nail Polishes
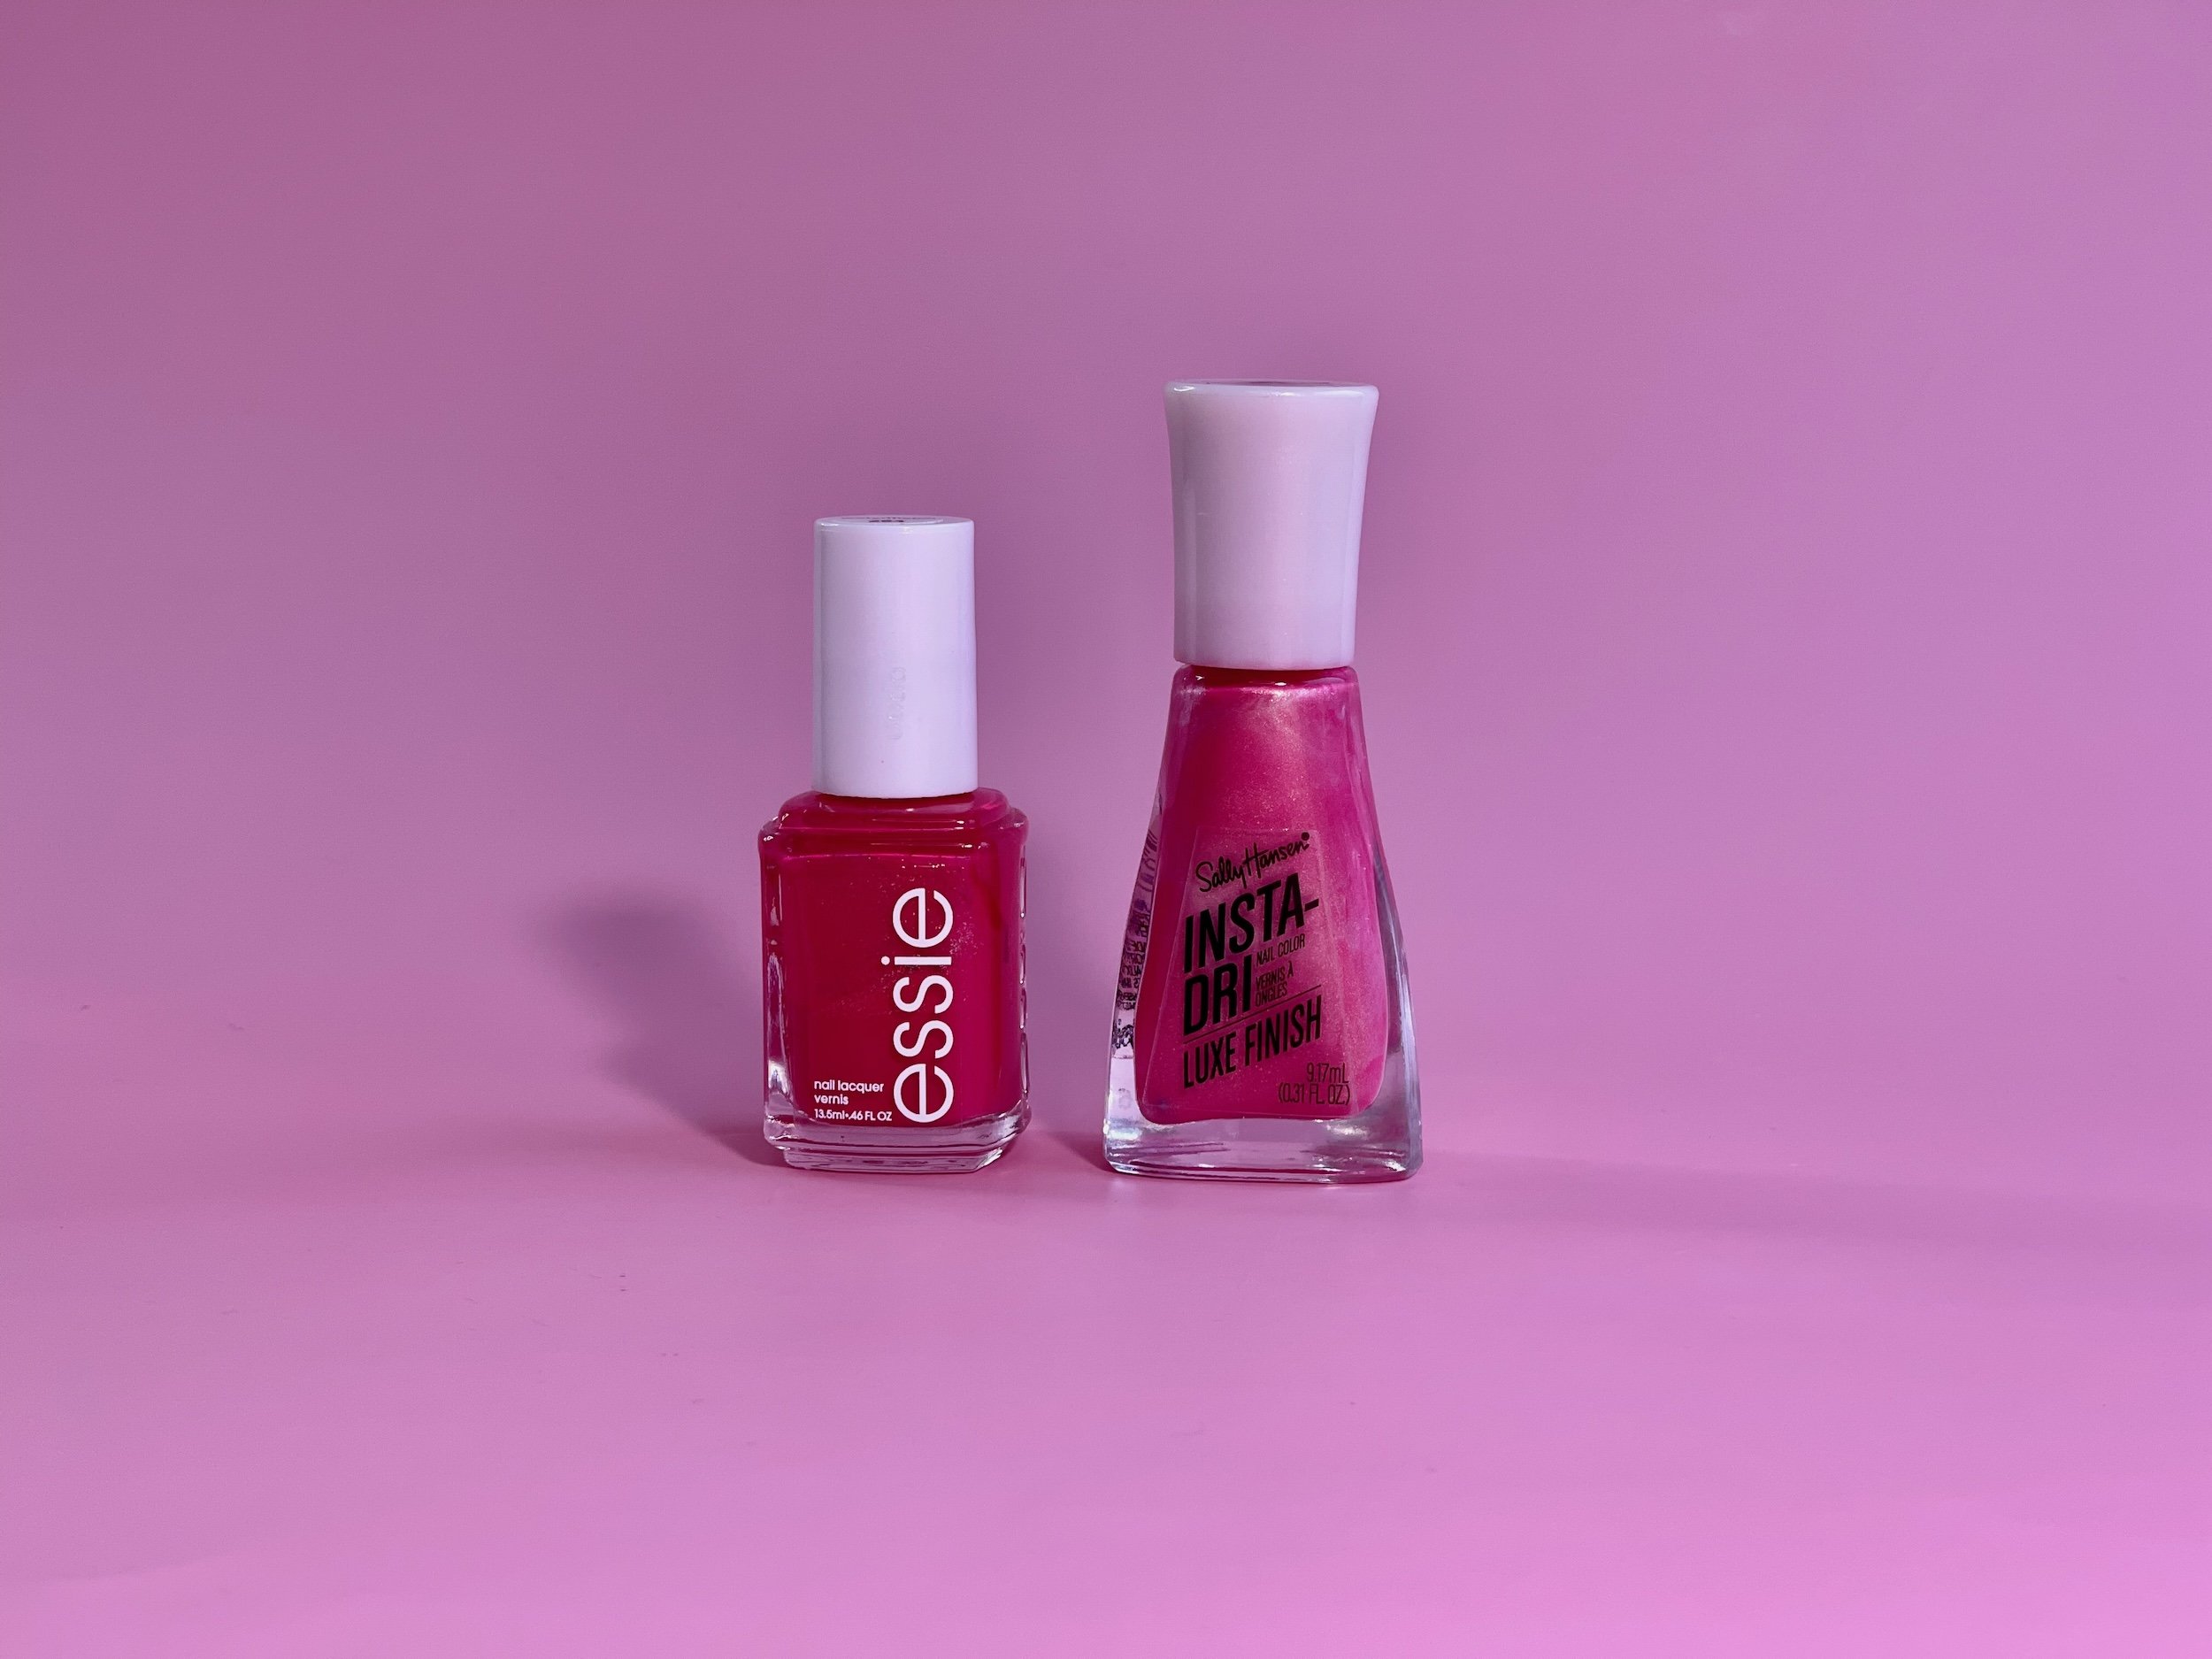
Grab your 2 final “parent" polishes.
In this post, I used essie watermelon, a pink-red magenta cream, as the base color and Sally Hansen Insta-Dri Silk is…, a pearly white gold, as the finish accent. I was aiming for a spring into summer inspired pink with a pearly shimmer.
Here’s what the parent polishes look like on their own:

essie watermelon swatch

Sally Hansen Silk is… swatch
If one of your parent polish bottles is half full, begin pouring the accent polish into the first parent’s polish until it is full to just below the neck of the nail polish bottle.
You can also play around with the ratios. For example, you have a sheer accent color and you want to add more color depth to it; pour in ¼ base color into ¾ accent shade.
Check if your new polish is fully mixed: Pull the brush out of the bottle. If you can no longer see pigment swirls, you’re good to go. If you can see pigment swirls, continue shaking until you can’t.
Mixing half empty nail polish bottles together to create a new nail polish
Step 3. Swatch Your New Polish
Once your new baby nail polish is fully mixed, swatch the color on a swatch stick, your own nails or both.
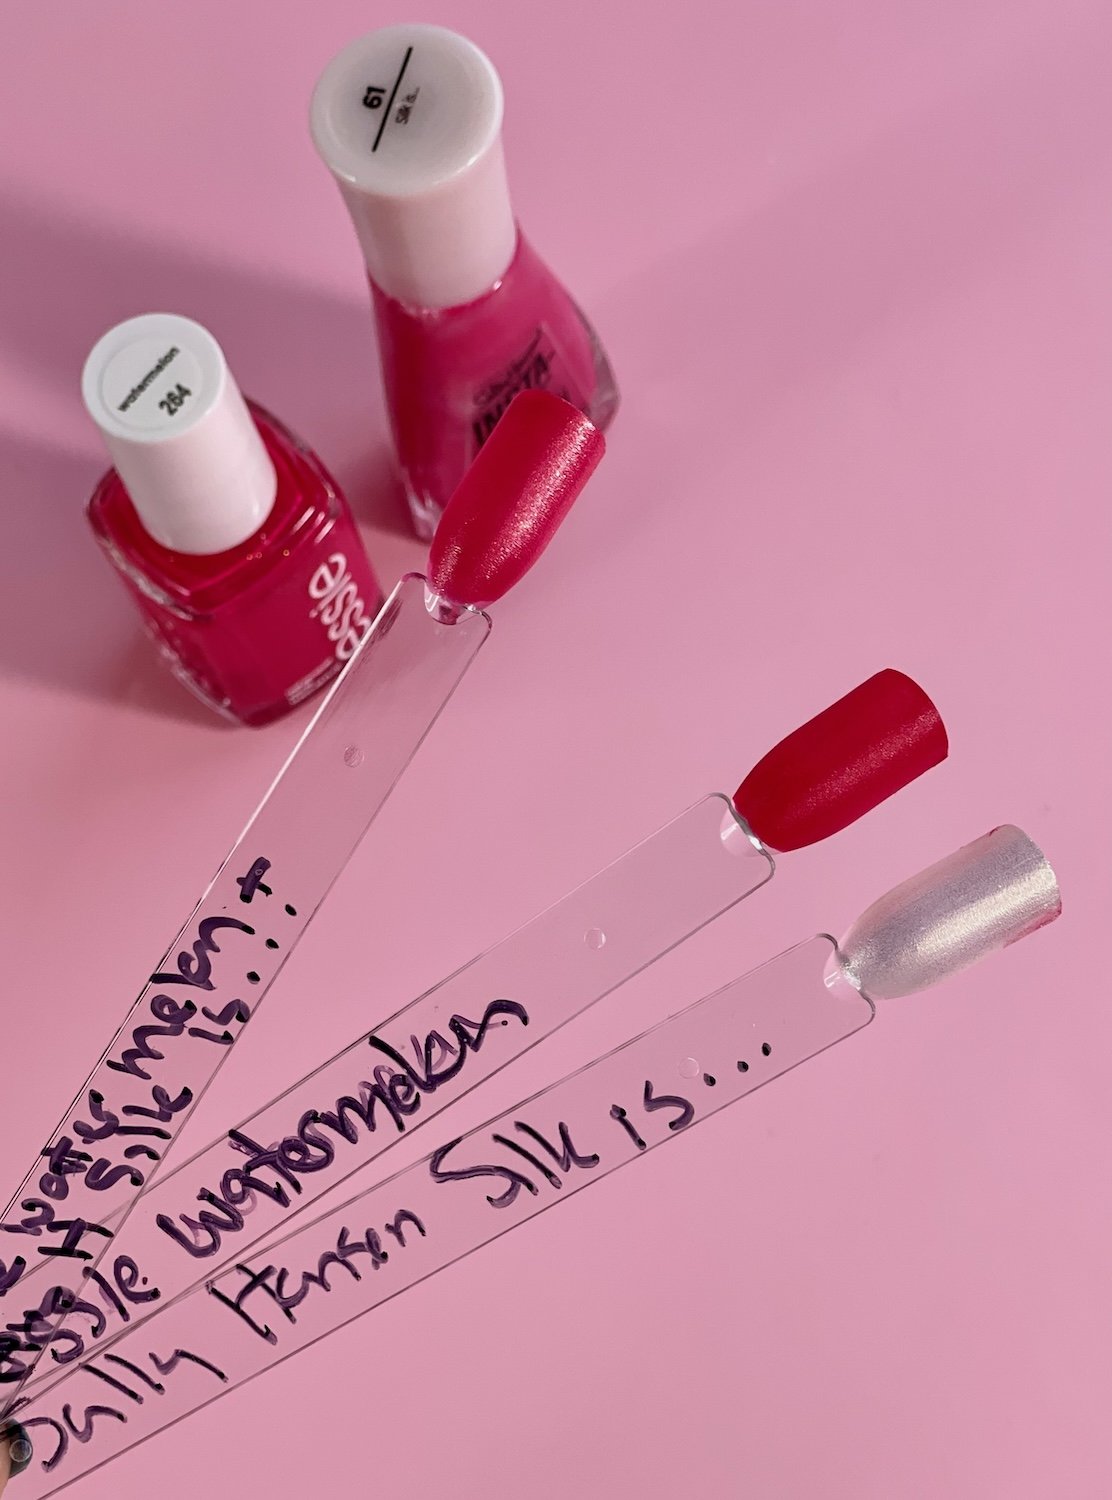
DIY at home nail polish, Watermelon Silk swatch, alongside parent swatches, essie watermelon and Sally Hansen Silk is…

Photo of DIY at home nail polish, Watermelon Silk
Step 4 - Name your new nail polish formula
Write down the names of your parent polishes. See if by combining them you can come up with a new name for your fresh lacquer formula. Or, look at the polish, experience it and then see if potential names come to mind.
In the case of these polishes, the parent polish names are “watermelon,” and “Silk is…” The new nail polish they made together is called “Watermelon Silk.”
Once you’ve named your new at-home nail polish, label the bottle and bask in the greatness of the newest addition to your collection.
Why buy a new color when you can make one without having to leave the house?
Step 5 - Decide if you want to try other blends

L, Funny Bunny, Middle, Funny Bunny & Bubble Bath Combo, R, Bubble Bath

OPI Bubble Bath & Funny Bunny Combo swatch
Now that you have mastered mixing your first new nail polish, now revisit your collection and think about other potential combinations you’d like to try with your existing pigments.
Our reader’s favorite DIY at-home nail polish is Bubble Bunny - a combination of OPI Bubble Bath and Funny Bunny, shown above with its parents. See all the swatches of Bubble Bunny HERE.
All in all, the easiest method of making your own nail polish at home is to combine two nail polishes you already have into a new nail polish.
You can choose a base shade and an accent finish (like you did in this article), similar sheers you like, or even colors of your choice that pair well together on the color wheel and see what happens.
Feel free to experiment with mixing pigments from different brands. The polish shown above is a mix of brands and it dries down well to a gorgeous, wearable finish.
Finally, if you mix a polish that looks good in the bottle but you don’t love it on the nails, label what it is and set it aside; you can repurpose that varnish for other artistic ideas in the future.
What nail polish pigments from your collection will you select to make an entirely new shade?
For more content like this, follow us on Instagram ~
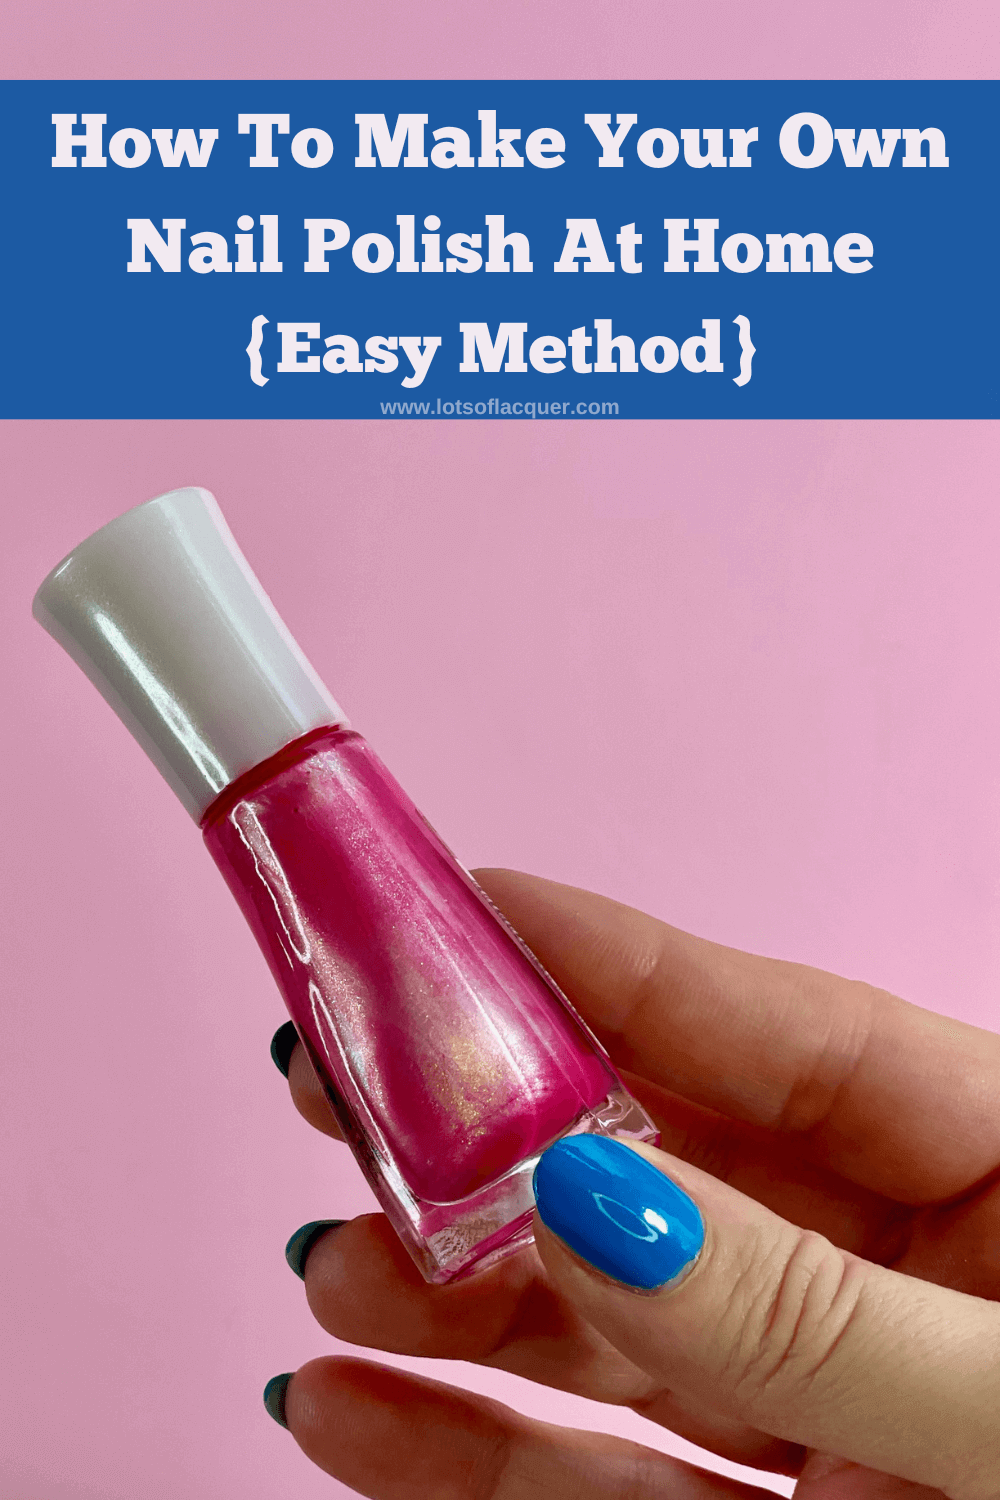
How To Make Your Own Nail Polish {Easy!} text overlay DIY at home pink shimmer nail polish
Other Articles You May Enjoy:
Amazon and the Amazon logo are trademarks of Amazon.com, Inc. or its affiliates.