Easy DIY Nail Polish Remover Pads
Updated 2025.02.16
Instead of using store bought cotton pads for removing your nail polish, you can easily make your own nail polish remover pads with scrap fabrics you have around the house.
The job of a nail polish remover pad is to absorb acetone and nail polish, and then be thrown away. There is no reason to buy new cotton pads when they’re just going to be tossed after one use.
Thankfully, you can easily make your own nail polish remover pads and below you’ll learn how.
To begin making nail polish remover pads, you’ll need:
Scissors that you’re going to use to cut fabric
Scrap fabric that you’re fine with cutting up, getting solvents on and tossing
Container to store your finished nail polish remover pads in
The best fabrics for making your own nail polish remover pads are fabrics that have thicker, textured threads that you were going to throw away, donate or retire anyway.
Harvest your nail polish remover pad fabric from:
Old wool sweaters with holes
Sweatshirts you were going to donate
Clean towels that are getting ratty
Sweatpants with worn out elastics
Fleece blankets past their prime
Avoid t-shirt materials, bedsheets and lighter linens, as these types of fabrics don’t absorb solvents very well and as a result, will require more rubbing and time to remove the polish.
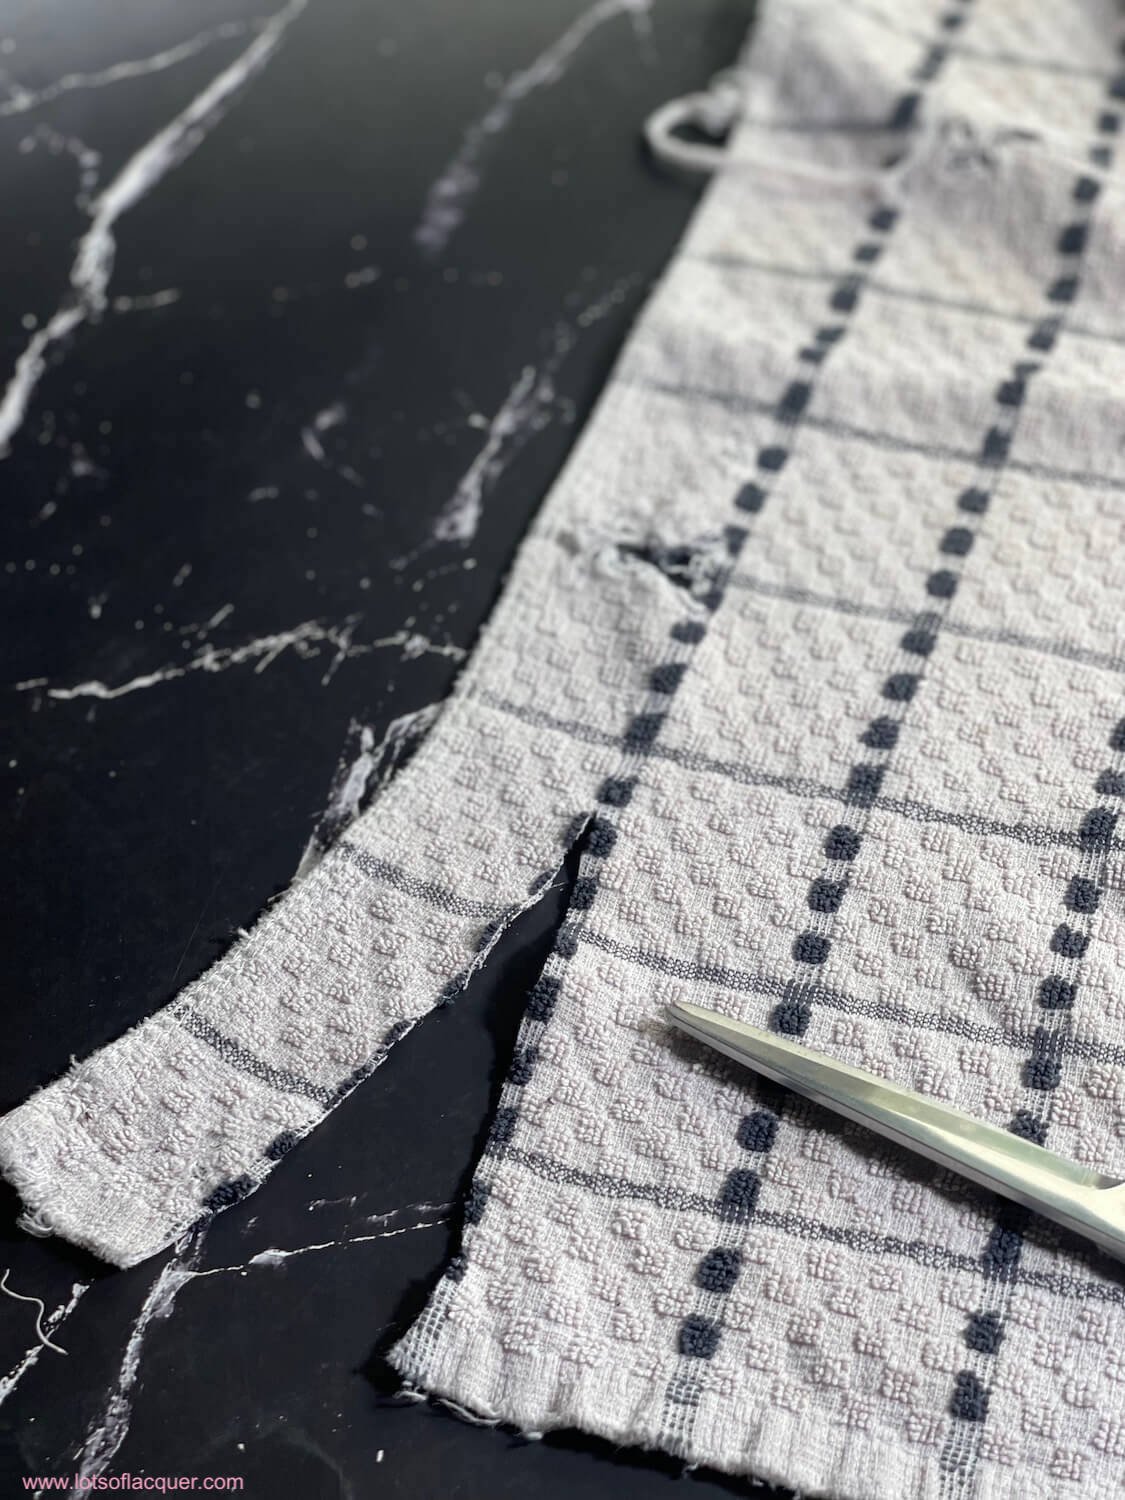
For this post, we’re going to be using a clean, but ratty old dish towel.
Once you have your scissors and fabric selected, choose a flat surface area like a desk or counter to work on.
Begin cutting your fabric into 2 inch (about 5cm) rectangular strips until you have all your fabric cut into rectangular strips.
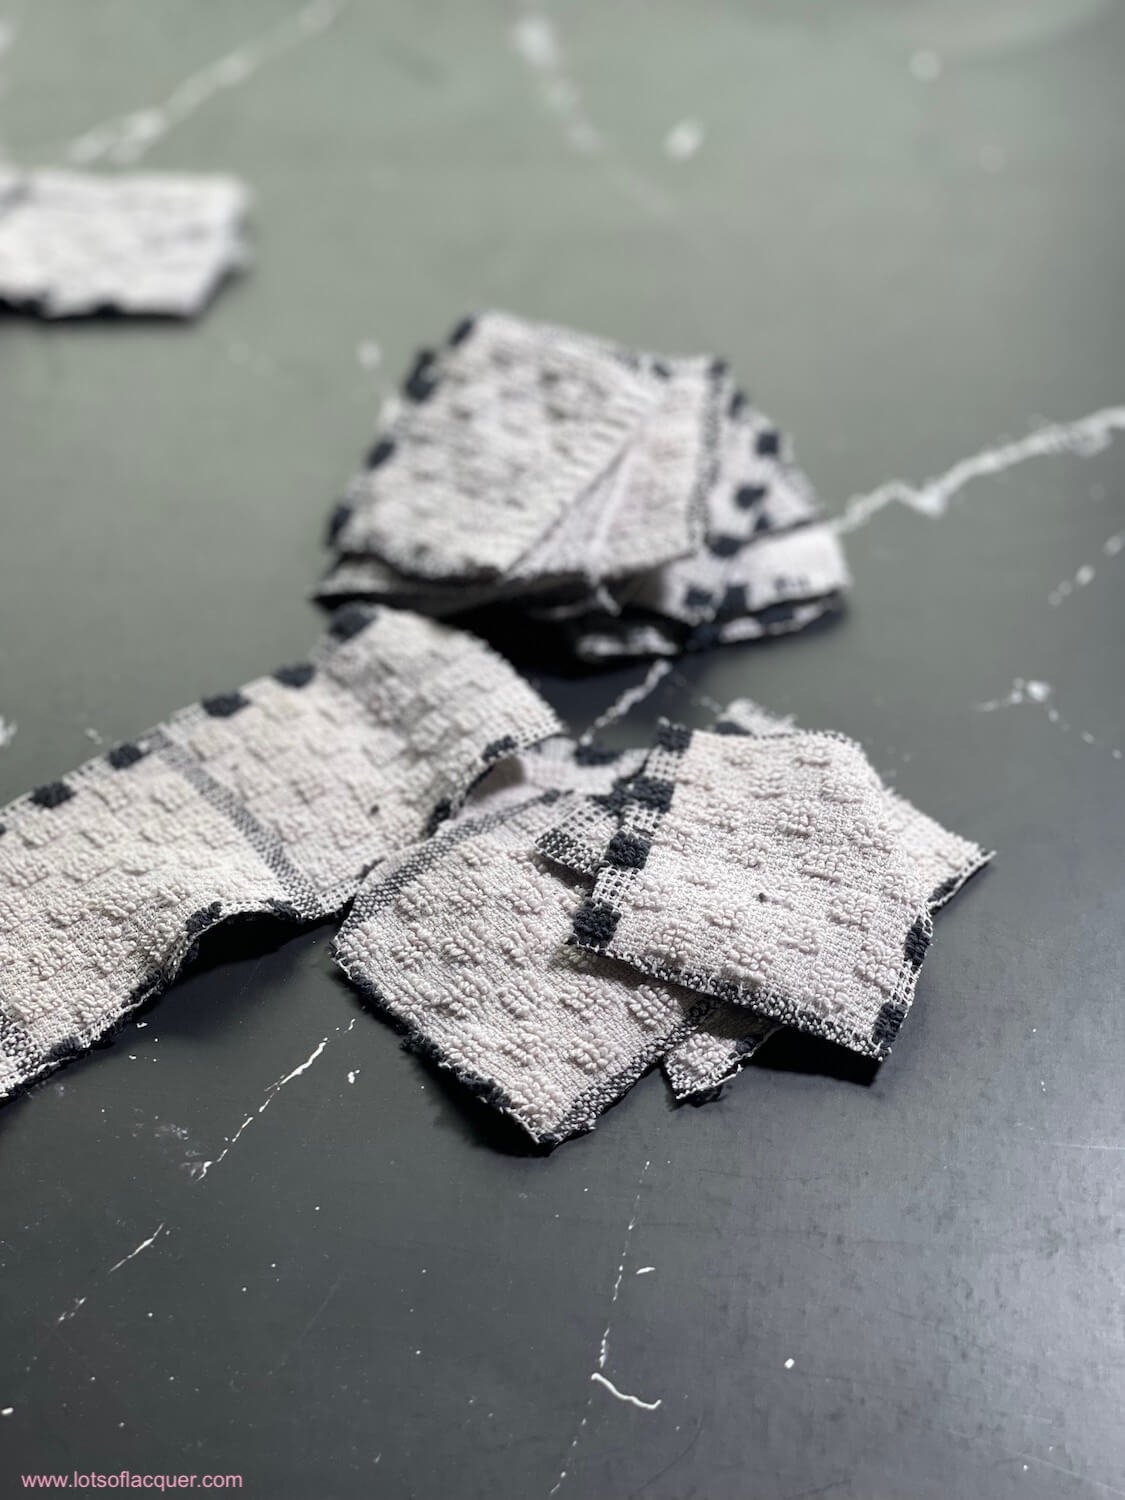
Once all your fabric is in rectangular strips, turn the fabric horizontally and start cutting the fabric into 2 inch squares (about 5cm).
While cutting the squares, just relax into this task and enjoy your time doing something that doesn’t require screens of any kind.
Your squares will look like this:
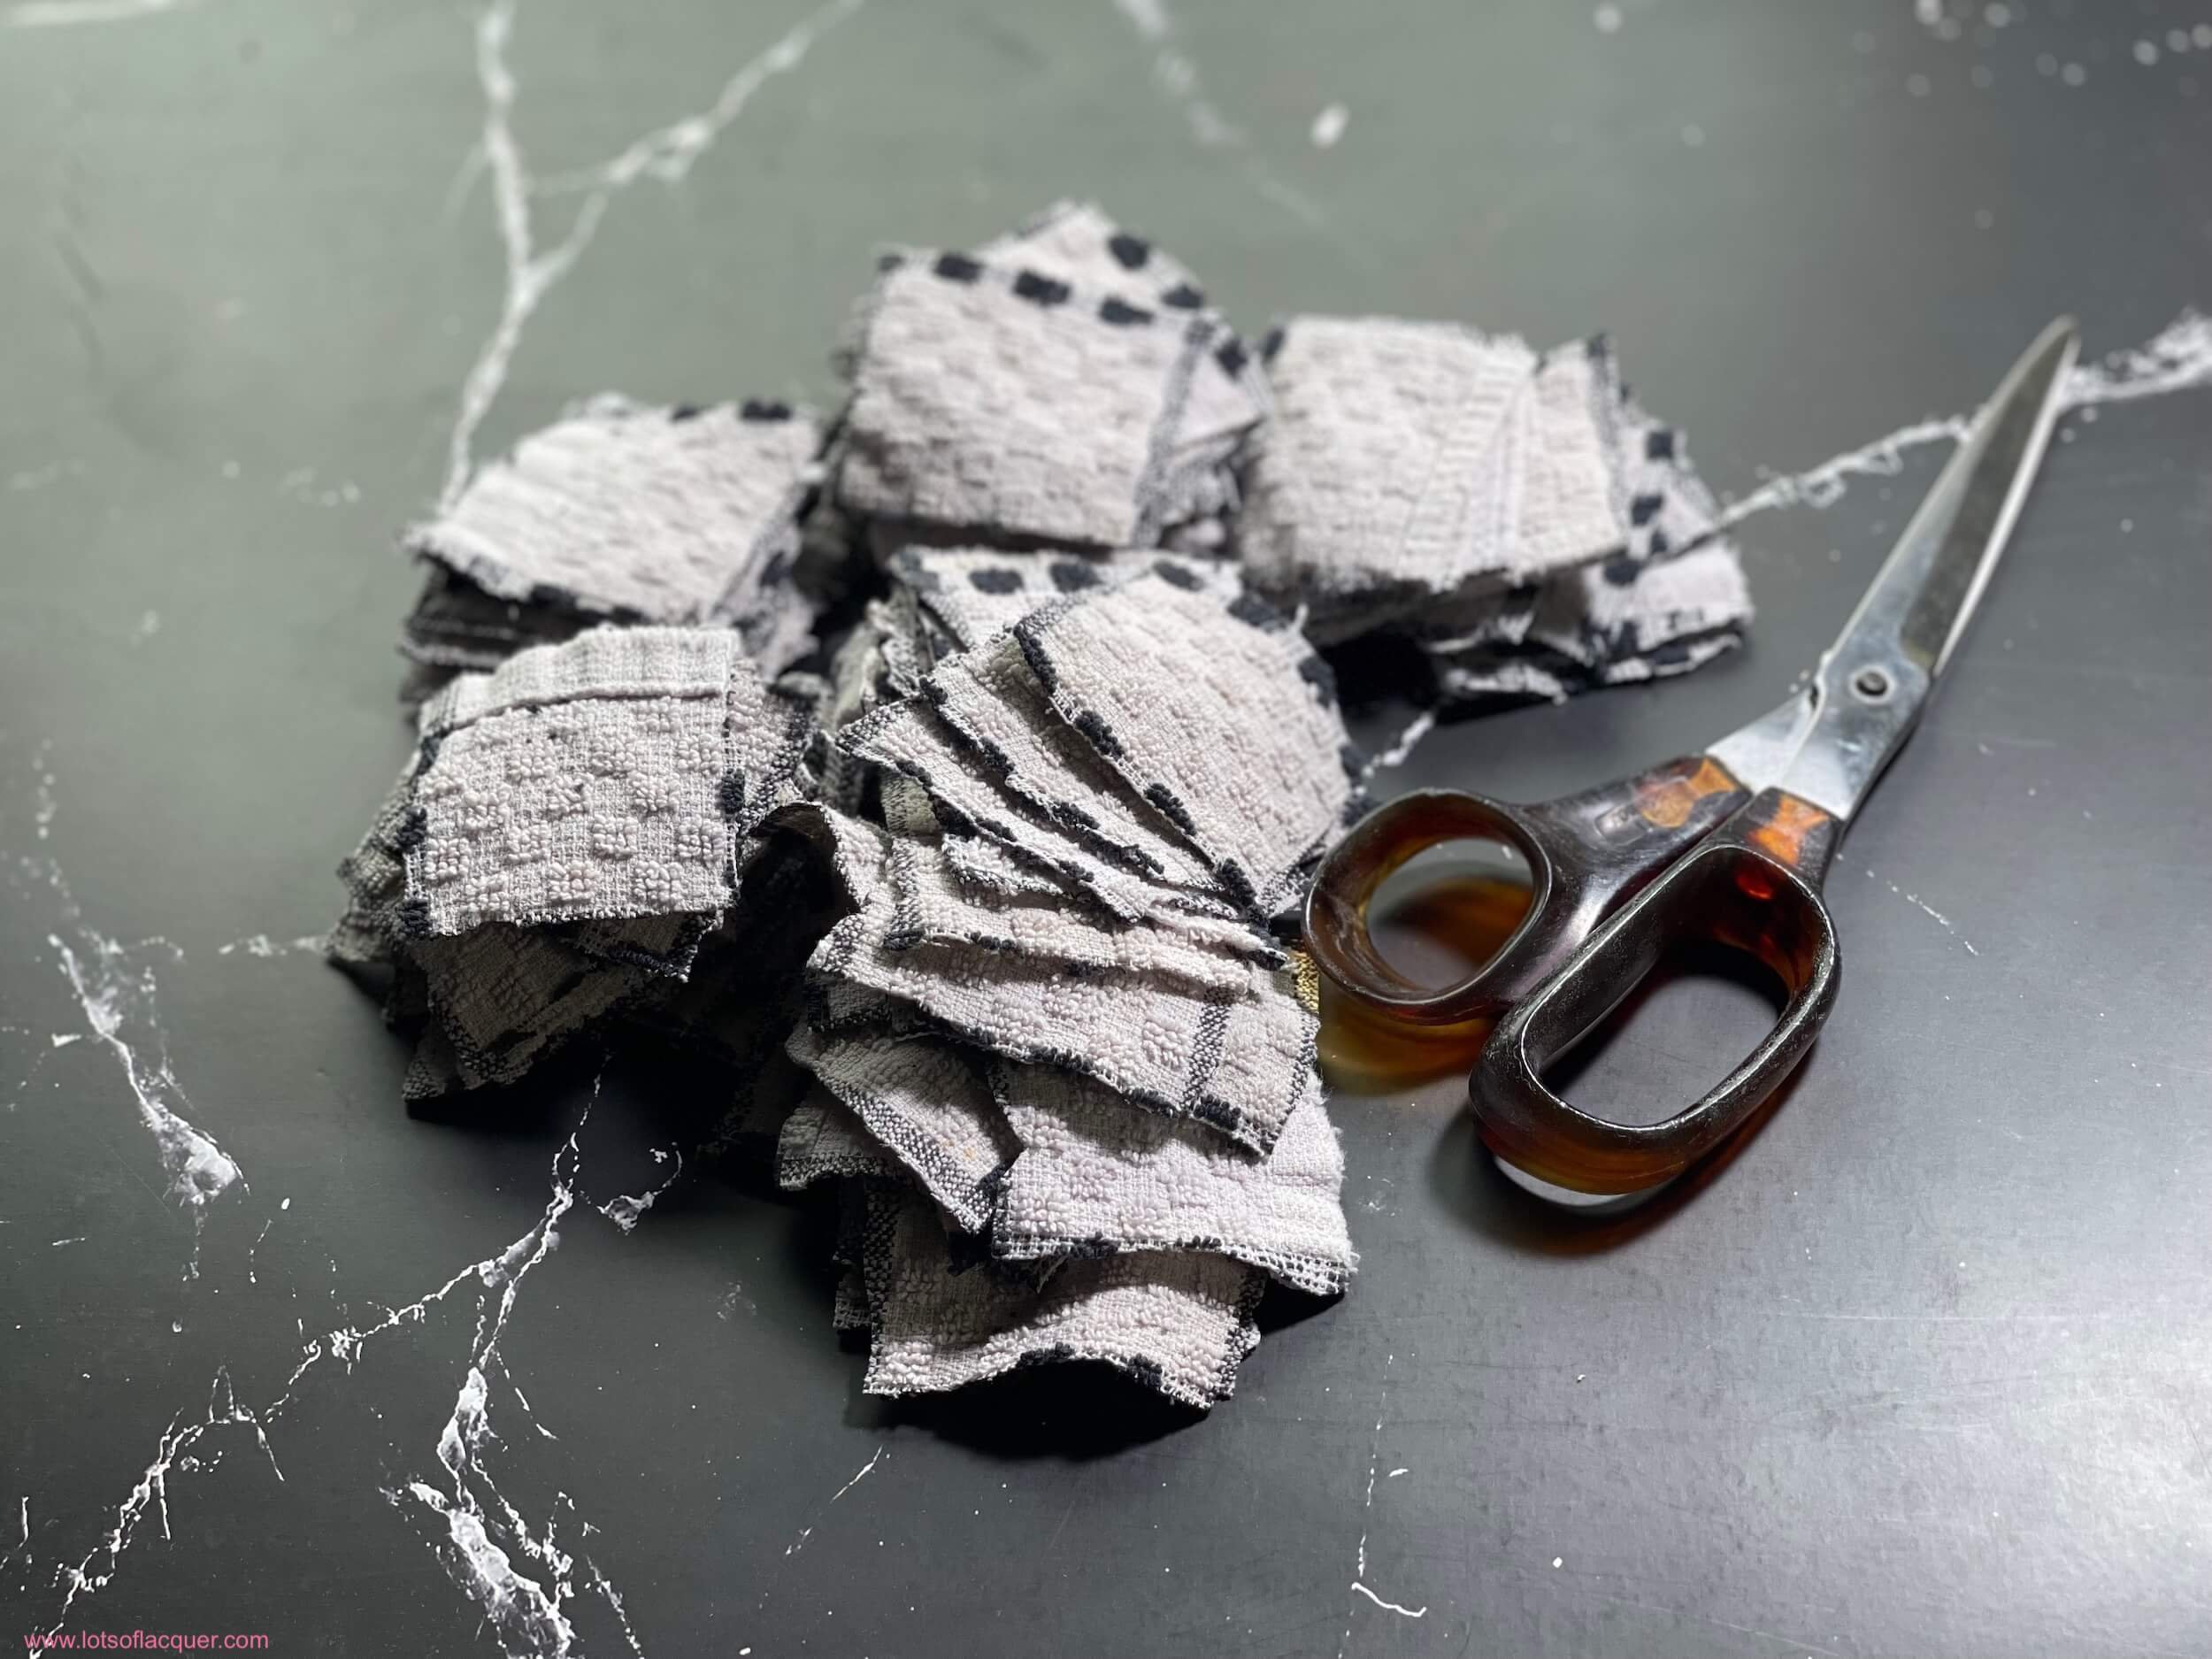
Continue cutting squares until you have cut all of the fabric into small 2 inch x 2 inch (or 5cm x 5cm) squares.
Once complete, your pile will look like this (or larger):
If you have some fabric fuzz around your work space, dust it off.
You will now need to store your newly minted DIY Nail Polish Remover Pads in something. Consider putting them in a recycled shopping bag, gift bag or another nice container of your choice. Our office currently has these scrap fabric nail polish remover pads stored in a recycled Christmas gift bag that is particularly pretty.
Now you have your own nail polish remover pads made from recycled fabric!
When you’re ready to use your nail polish remover pads, simply dip them in your preferred nail polish remover, and press the remover-soaked pad to the nail.
Rub gently and pull down, repeat on each nail. Re-saturate and replace each remover pad as needed.
Now that you know how to make your own nail polish remover pads, you’re going to look at all your scrap fabrics in a new light - as having a potential new life as a nail polish remover pad.
For more content like this, follow us on Instagram!
Other Articles You May Enjoy:


