White Chrome Nails
Updated 2024.07.17. This post contains affiliate links. If you make a purchase, Lots of Lacquer and its partners may earn a commission or other compensation, at no extra cost to you.
White chrome nails are trending right now and for a good reason, they really do look quite pretty.
In this post, you’ll learn how to get the pearlescent white chrome nails look, but without the pearl brushstrokes you see in regular nail polish, since we’ll be using chrome powder to achieve the effect.
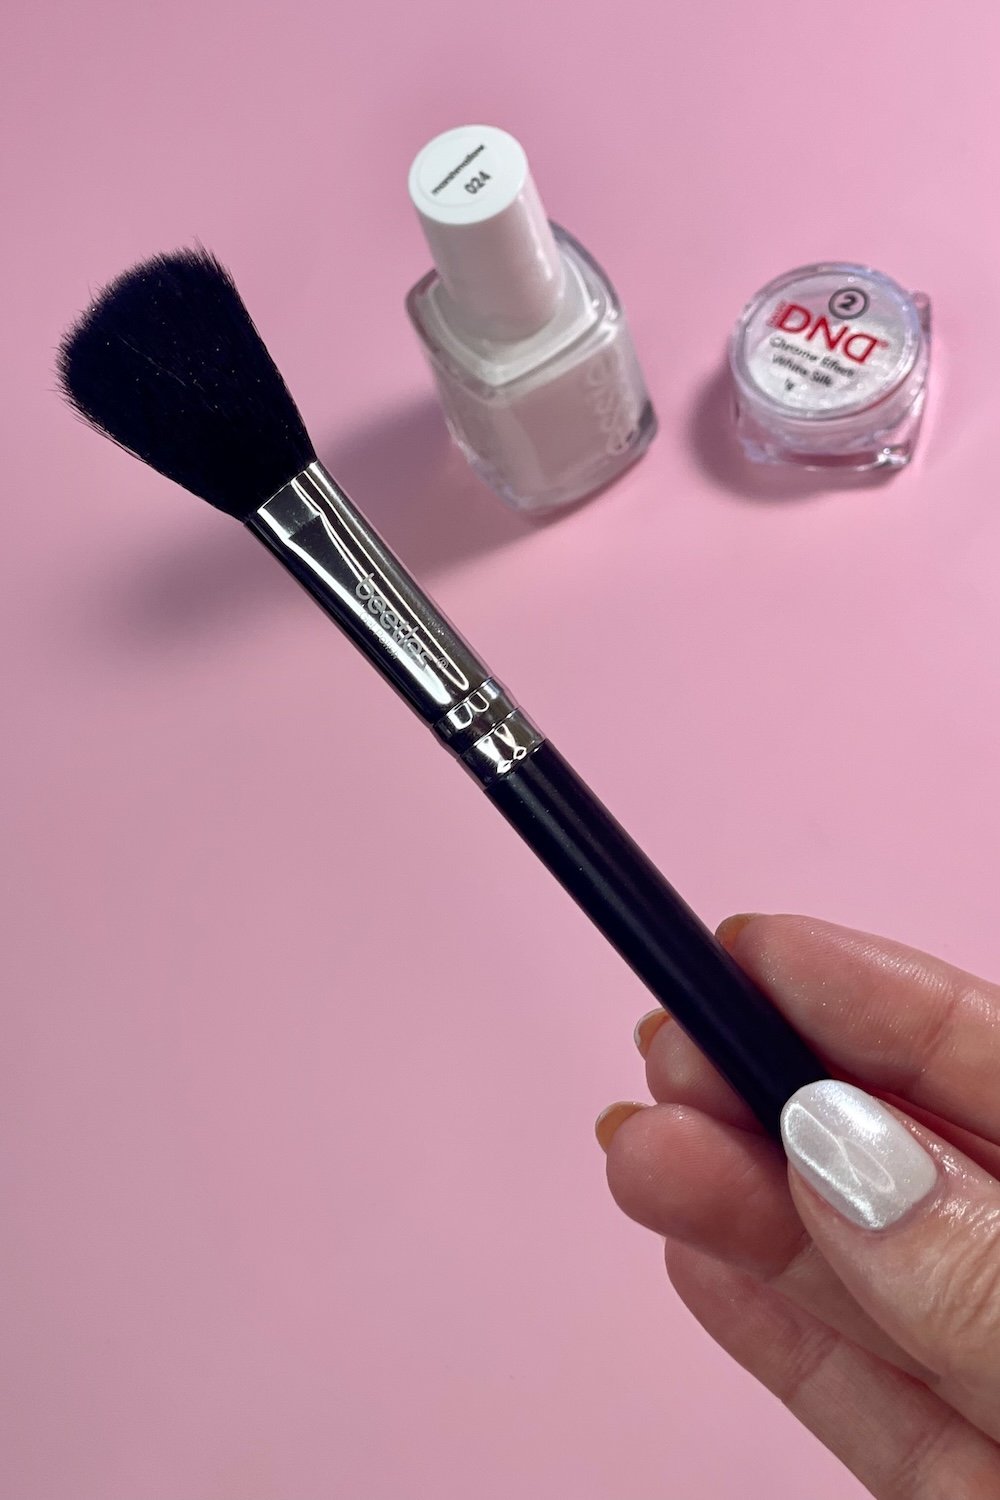
To get started you’ll need these main nail supplies:
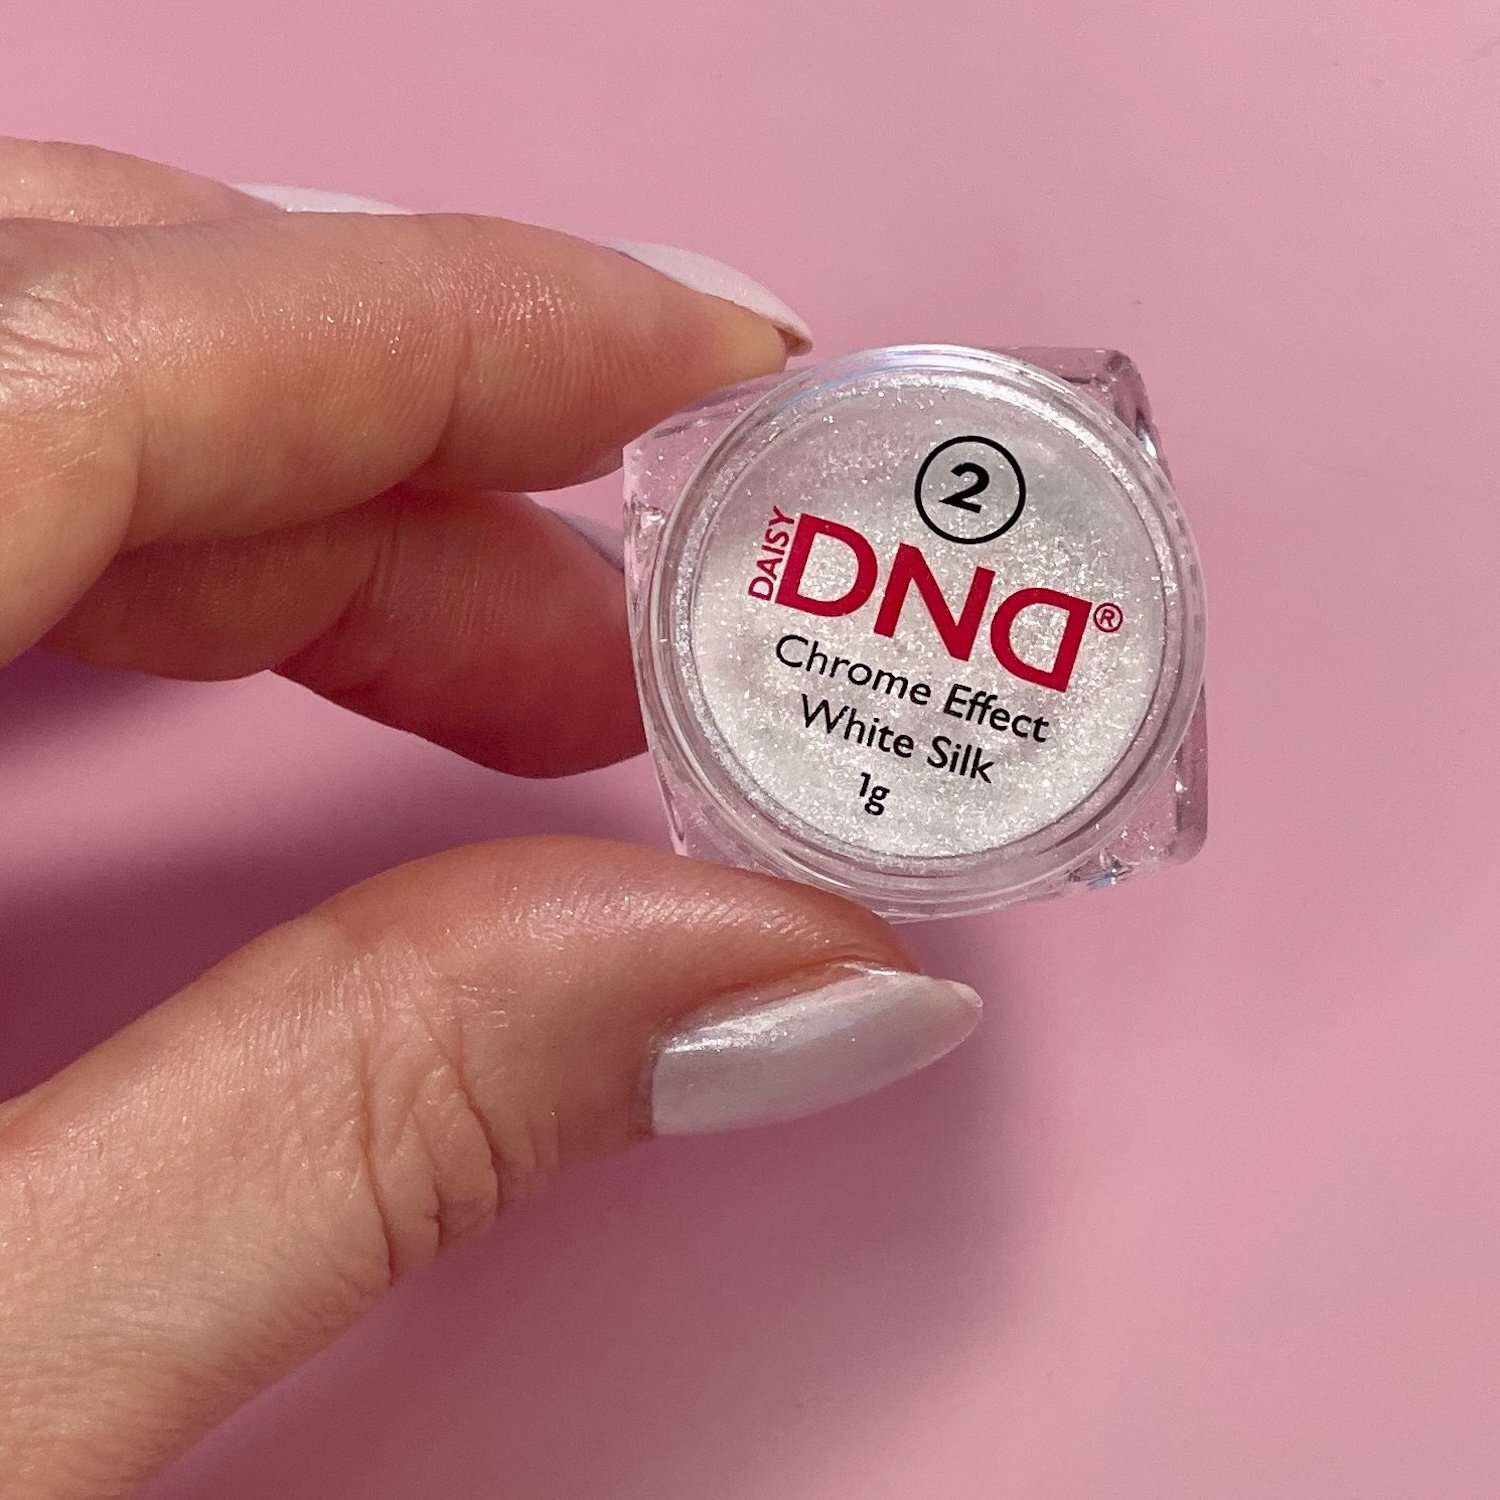
- White chrome powder
- essie marshmallow
- Dusting brush
- Soft cloth
For the soft cloth, a smooth clean rag, a lint-free wipe or a microfiber cloth will work.
White Silk is a silvery white micro-fine glitter and it can be applied with just the pad of your finger.
How To Use White Chrome Powder
1 - Apply 2 coats of essie marshmallow as your base.
2 - Wait until it is sticky to the touch.
3 - Dip your fingertip pad into the powder and gently pat the powder on to cover the nail. Don’t worry about the powder getting on your skin, it’ll clean off easily when you’re done.
4 - Repeat until you have all your nails covered in chrome powder.
5 - Return to each finger and again, gently press down the chrome powder to lock it in.
6 - Using a dusting brush, now dust off the excess powder from the nails.
7 - Wait for your nails to fully dry.
8 - Once all nails are fully dry, using a soft cloth, gently wipe the nails in a circular motion to remove any final excess chrome powder. Use the same light pressure you’d use to polish water spots off fine glassware.
9 - Apply your favorite quick dry top coat.
10 - Wait for your top coat to dry, then wash your hands and apply cuticle oil.
You’re done!
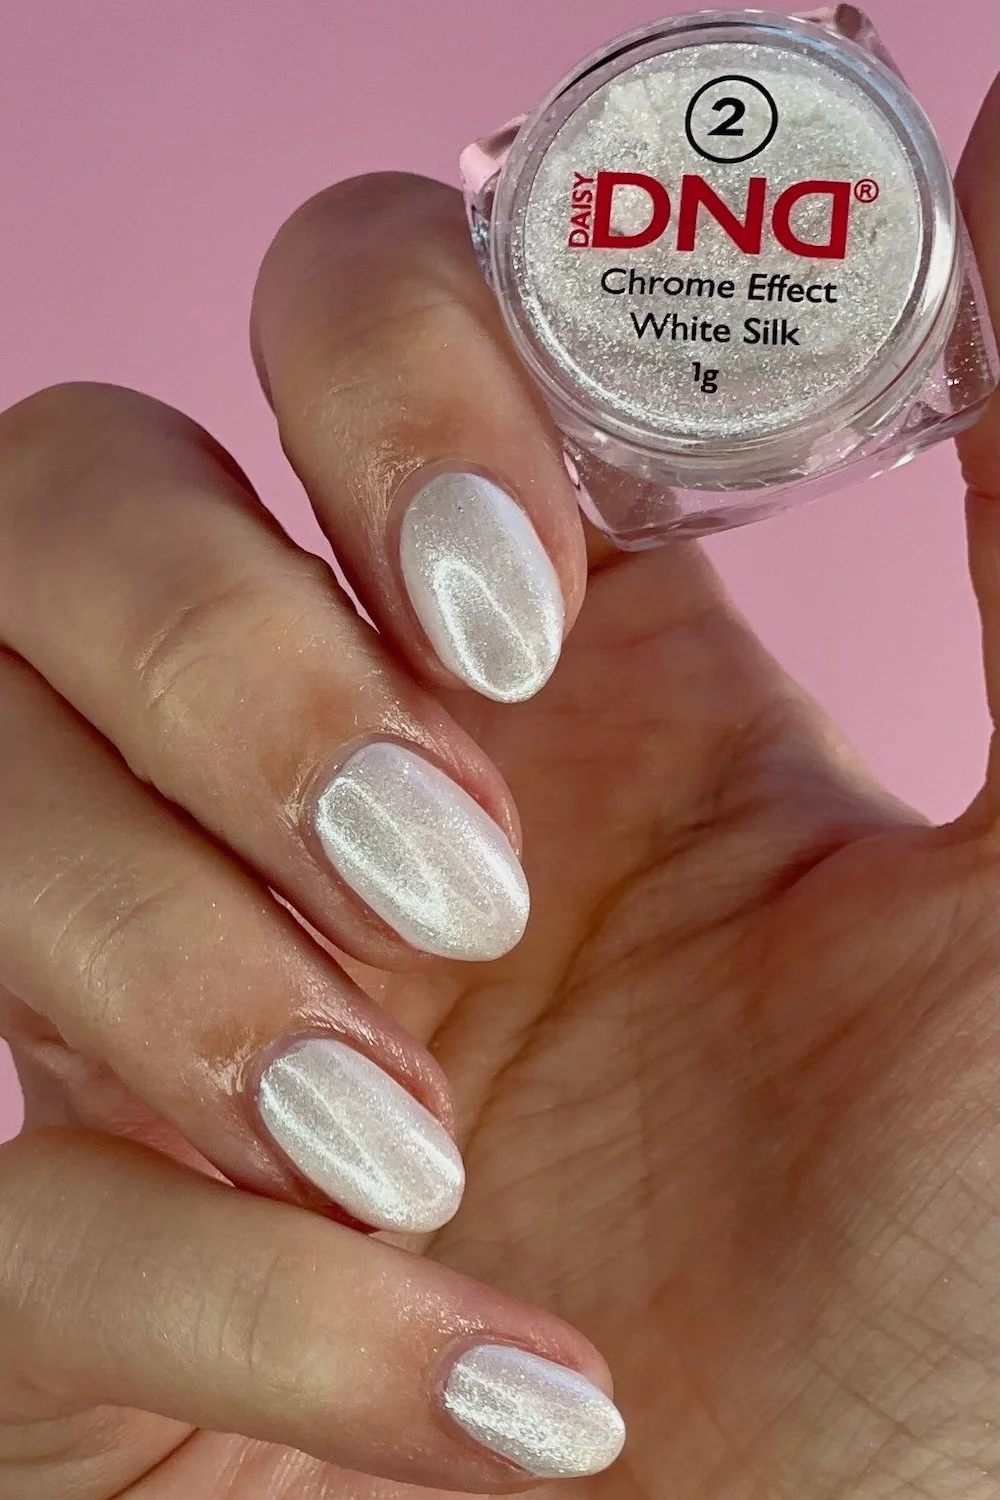
Below is what your final manicure will look like:
Now that your manicure is complete:
Carefully reseal the white chrome powder, replacing the foam cap liner under the lid, which helps prevent the powder from spilling when opened again.
Return the white chrome powder to the small plastic bag it arrived in, so the micro powders on the jar won’t get on your other nail supplies in storage.
Using a lint-free wipe or DIY polish remover pad and acetone, clean the neck of your nail polish bottle and tightly screw back on the lid.
To try this manicure yourself:
Other Articles You May Enjoy:
As an Ulta and Beetles Gel Affiliate, this site earns from qualifying purchases.


